Okay, if you haven't experimented with greenscreening in your classroom, you HAVE to try it out! Here's a quick overview of a super fun activity that combines Halloween, STEAM, Seesaw, and greenscreen. It sounds overwhelming, but I promise that the students do most of the work ;) Keep in mind, all of this took place over the course of a week!
All credits for this amazing idea goes to my colleague Kaitlyn (@diebel07) who thought of this on a whim last week! Genius.
Day 1: Watch "Room on the Broom" available on Netflix
Day 1: Present a STEAM project to the students - They must design their own broom that has a seat for each of the characters in "Room on the Broom"! Click here for the activity overview and reflection questions. Click here for the supplies and character printouts. Give them time (30+ minutes) to draft and begin building their first broom design. We worked in self-selected groups of four and it went very smoothly.
Day 2: Revisit the STEAM project. Let them experiment with another round of building to improve on their design, followed up by the back page of the worksheet to reflect. After you test each broom's final design, celebrate!!
Day 3-5: Using DoInk for Greenscreen, have students take pictures of their brooms in front of green butcher paper (or a green tablecloth background). They then select a background for their broom. Upload the final product to students' Seesaw accounts. Take a look below to see where some of my students wanted to fly their brooms! We did this in small groups each day - by the end of the week, everyone had a fun photo uploaded to Seesaw!
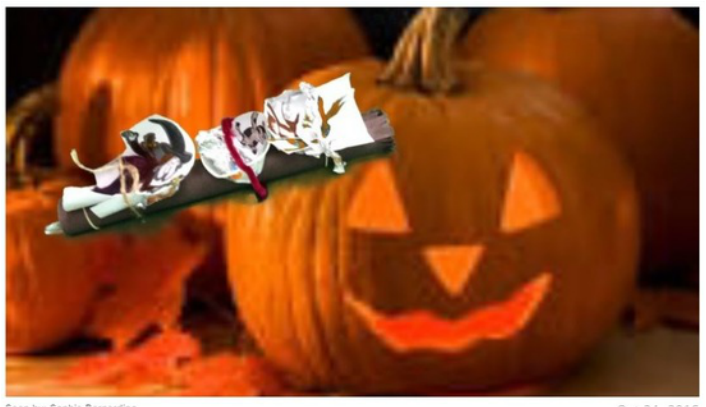
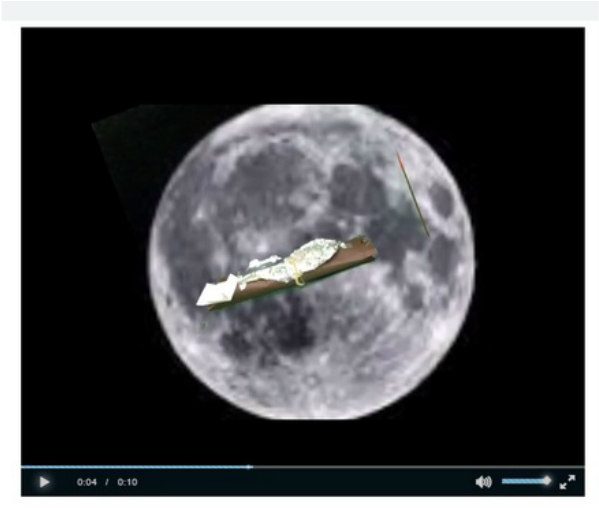
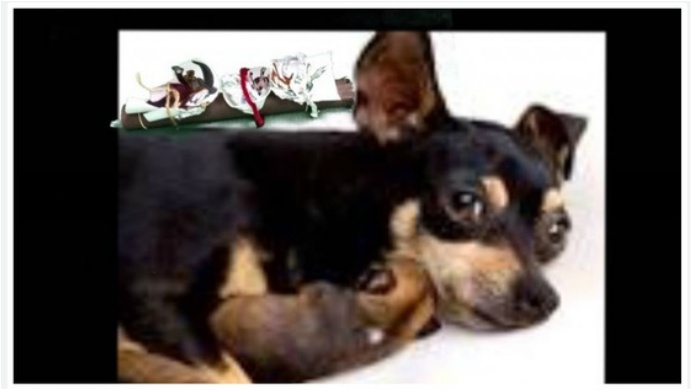
The brown objects are the students' brooms. If you look carefully, you can make out some of the characters sitting in their seats on the broom (secured in by pipe cleaners, rubber bands, foil, etc). As you can see, some students went "traditional" with Halloween themed backgrounds, and some did not! Students LOVED every step of this activity and learned a lot about collaboration, planning, problem-solving, and tech :)
If you have a creative project that your students loved, please share in the comments!
If you have a creative project that your students loved, please share in the comments!
 RSS Feed
